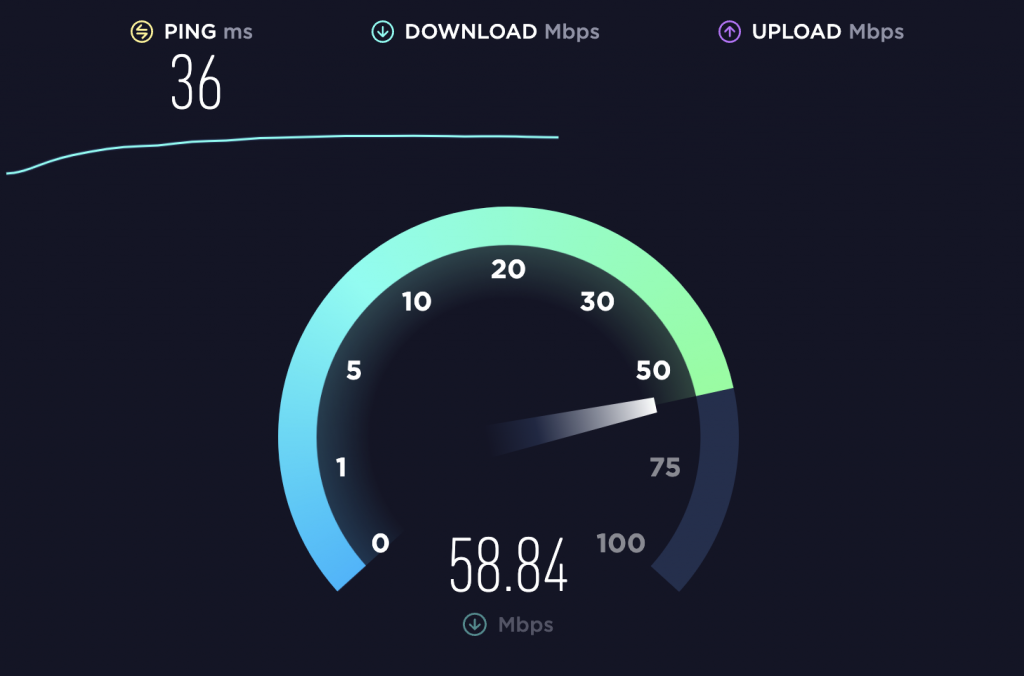
So much of the success of live streaming relies on your internet connectivity (and your guest’s internet connectivity) and there’s actually a lot to think about.
Do you go wired or wifi? Are you in a home office or on the go? What time are you live streaming at?
These questions may seem like overkill, but the answers to them can drastically change your internet connectivity and how well you show up when you’re live streaming. In this post, we’re breaking down everything you need to know to host a successful stream without any buffering or connectivity issues.
Watch the Video
Download our Internet Checklist
Wi-Fi vs. Wired Internet
These days, most of us are leveraging Wi-Fi internet connections at home and in the office. Wi-Fi internet gives us all a lot of flexibility to move around and bring our devices with us without the need for cables. However, Wi-Fi is not the best option when it comes to live streaming.
Wi-Fi is inherently a variable connection. That’s not going to matter much to you when you’re doing things like listening to music or playing Wordle, but it does make a difference when it comes to video. With Wi-Fi, one second your live stream looks top-notch and the next, things get dicey.
This is because Wi-Fi is subject to interference. It can have a hard time with the layout of your home and other Wi-Fi connections in your neighborhood. It’s constantly “bouncing around” and trying to find the best signals to keep you online, but this means that the strength of your internet connection is always shifting and changing.
Hardwiring your internet connection via ethernet cable is always going to provide a more reliable connection. A wired connection will give you consistent speeds and lower latency. It’s also always going to be faster than Wi-Fi.
Internet Speed
While we’re on the topic of internet speed, let’s talk for a moment about upload speeds vs. download speeds. What matters most for live streaming is the upload speed. You absolutely want an upload speed of above 3mbps to stream. That being said, the higher the speed, the better the quality. Here’s what you’ll need to be looking at, depending on what you want to do:
- 3mbps = 480p stream
- 6mbps = 720p stream
- 12 mbps = 1080p stream
- 25mbps = 4k stream

Checking your internet speed is pretty quick and easy. Simply go to www.speedtest.net and hit “go.” This tool will calculate both your upload and download speeds to let you know where you’re at.
Location, Location, Location
In this post-pandemic world, many of us are live streaming from our home offices and studios. One important thing to consider is where you’re streaming from. Internet is a shared resource and if you’re live streaming from a residential neighborhood and choosing Wi-Fi, you’ll be sharing that connection with family members (who may be watching Netflix or gaming) and even neighbors.
Think of internet as a highway. In a residential neighborhood, there are lots of cars on that highway with you and things get busier depending on the time of day. Internet “rush hour” is when kids get home from school and in the evenings when people in your neighborhood are streaming movies, binging their favorite shows, and uploading TikToks.
Before you choose a day and time for your live show, consider the following:
- Are you in a residential neighborhood or will you be streaming from an office?
- WiFi or wired connection?
- Can you choose a less busy time of day (like during work hours or later in the evening)?
Especially if you’re streaming with a Wi-Fi connection from your home office, these decisions will go a long way to ensuring a higher quality live stream.
Video Output
We get that you may not be in a place right now to hardwire your internet or live stream during the work day, so if you are in a spot where some things are out of your control, take control of what you can.
Do a test live stream on the day and at the time that you plan on regularly streaming. Start at a 720p stream. Stream for at least 30 minutes (you can use this time to practice your content). How does it look? Did it stay stable throughout the stream or did you see the quality fluctuate? If everything looked great, you can try again at 1080p and see how that does. If you saw the quality degrade, try again at a lower resolution and see what that looks like. Find your sweet spot and commit to that until you’re able to other changes to your internet connectivity.
You’ve Got This!
The most important part of live streaming is showing up. Things are not always going to be perfect (and that’s OK). With small changes and testing, you’ll be able to get your stream looking pretty great and then you’ll have the ability to make updates as you go.
Want to practice? Join us in the Ecamm Live Community and do your live video testing there. We’d love to see how things are looking and help you on your way.